When cloning an Ubuntu VMware virtual machine, eth0 goes missing. Fix the problem by deleting /etc/udev/rule.d/70-persistent-net.rules and rebooting.
I ran into an annoyance trying to clone some Ubuntu LAMP virtual machines that I was using for website development. Every time I cloned the virtual machine, eth0 would go missing, and ifconfig would show only the loopback device, lo.
It turns out that when you clone a VMware virtual machine, the cloned virtual machine’s network interface gets a new MAC address (which, of course, it must to work on the same LAN). But Ubuntu, and many other Linux distributions, cache the old MAC address in a configuration file.
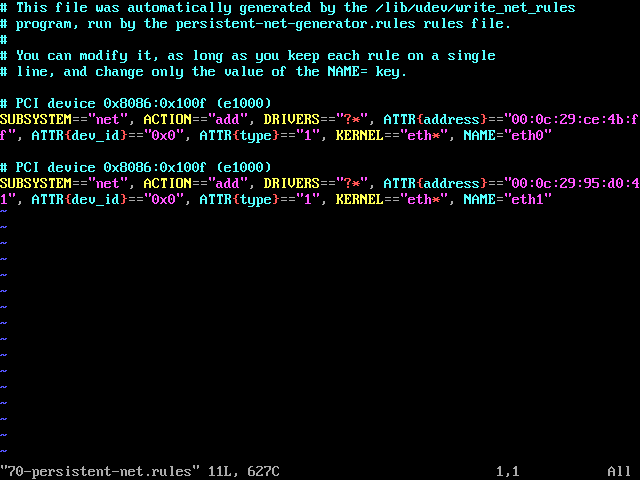
In Ubuntu, the file is /etc/udev/rules.d/70-persistent-net.rules. After cloning, it will contain a reference to the old network interface as eth0:
The easiest way to fix this problem is to simply delete the file. Ubuntu will regenerate it properly the next time it boots up.
$ sudo rm /etc/udev/rules.d/70-persistent-net.rules
After deleting the file, you need to reboot. After rebooting, ifconfig should show eth0 and everything should just work.
If you’re feeling less adventurous, you can rename the file to *.old so that you can restore it if something doesn’t work:
$ sudo mv /etc/udev/rules.d/70-persistent-net.rules /etc/udev/rules.d/70-persistent-net.rules.old
You can also edit the file to remove the old reference to eth0, and rename the new eth1 reference to eth0. But deleting the file and rebooting seems more convenient.
/etc/udev/rules.d/z25_persistent-net.rules.